How to Ride Your Electric Scooter Over Potholes, Gravel and Rough Pavement
Step-by-step technique for riding a standing electric scooter over potholes and rough surfaces: line choice, speed control, weight shift and body position to avoid pinch flats and maintain control.
How To Ride Your Electric Scooter Over Potholes, Gravel And Rough Pavement
You hit a pothole at 25 km/h with your weight forward and your arms locked, and the front wheel stops dead. Your body keeps moving. The stem folds or your wrists take the full impact. That is the crash scenario. The fix is a four-step sequence you execute in order: choose your line, reduce speed before the obstacle, shift your weight rearward, and let your legs work as suspension. This guide teaches that sequence. You already own a scooter. The broken pavement is on your route.
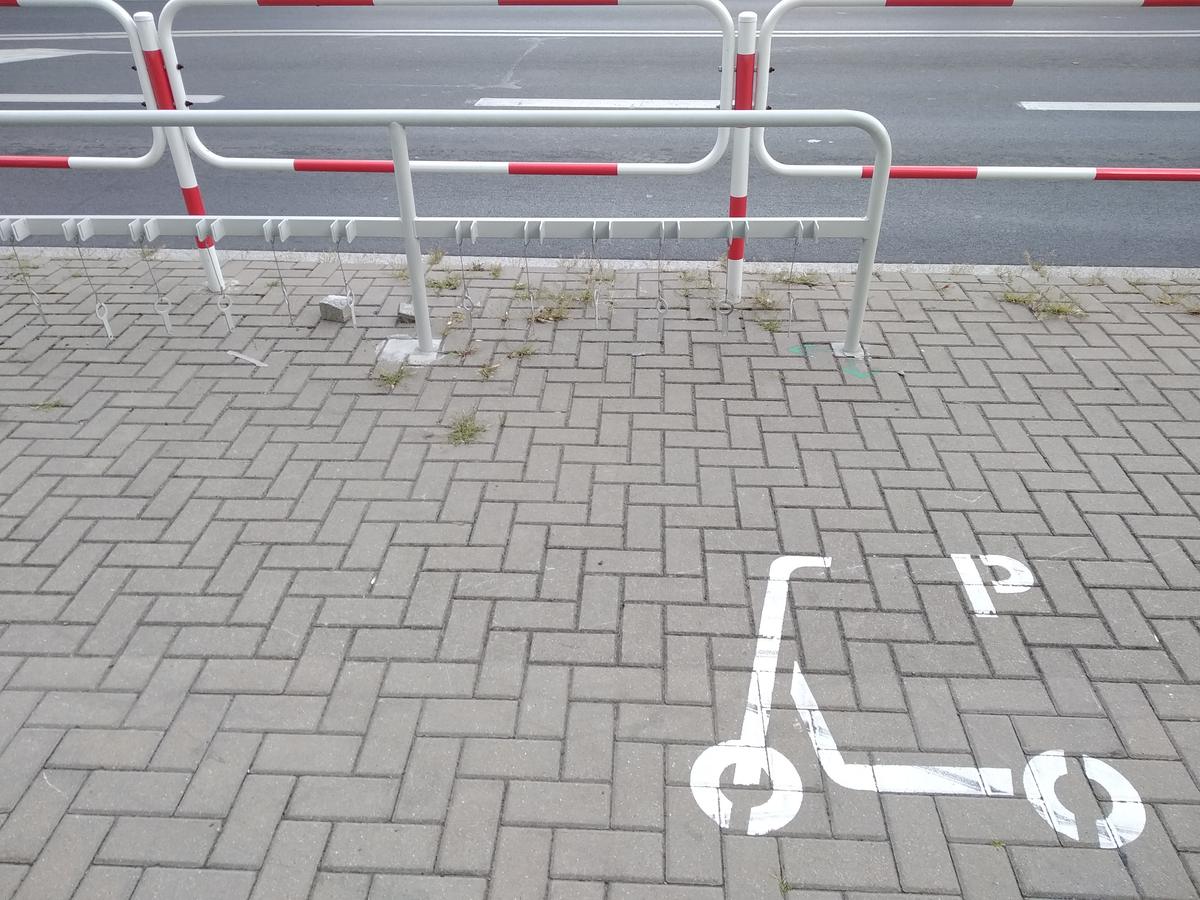

Scan Ahead And Choose Your Line
Your eyes should be 10 to 15 metres ahead, not at the wheel. That gives you time to read the surface and pick a path. The worst thing you can do is fixate on the hole you are trying to avoid; you steer into what you stare at. Instead, look for the smoothest patch of pavement within your lane. On a road with scattered damage, that often means riding near the crown where water runs off and the surface is least broken. On a shared path, it may mean moving to the edge where the gravel is thinner. If the entire width is rough, pick the line with the shallowest angle across any edge. A kerb impact taken at 90 degrees transfers the full force into the rim. An approach angle of 45 degrees lets the tyre roll over the edge rather than slam into it. That single choice is the difference between a pinch flat and a clean pass.
Reduce Speed Before The Obstacle, Not During It
Braking while your front wheel is in a hole or on loose gravel locks the wheel and you lose steering. Shed speed before you reach the rough section. At 25 km/h, the maximum pothole depth you can cross safely is 30 mm. Drop to 15 km/h and that figure rises to 50 mm. At walking speed, you can clear an 80 mm hole. On loose gravel, use only the rear brake. The front brake on gravel will wash the wheel out. On wet surfaces, disable regenerative braking entirely; the motor braking through the wheel on a slippery surface is a fall waiting to happen. The instruction is simple: slow down early, then coast through the obstacle with no brake input. If you must brake, use the rear only and keep the bars straight.
Shift Your Weight Rearward And Bend Your Knees
Your body position is the suspension you have before the scooter's own system does anything. The correct deck stance for rough surfaces has your feet shoulder-width apart, knees bent, and your weight centred over the deck but biased slightly rearward. On a descent over broken pavement, shift to 60 percent of your weight on the rear foot and 40 percent on the front. That keeps the front wheel light enough to roll over obstacles rather than digging in. It prevents your body from pitching forward when the front wheel stops. Your bent knees are not optional. Straight legs transmit every vibration directly to your spine and wrists. Bent legs absorb the impact, letting your quadriceps and glutes work as springs. Keep your grip on the handlebars loose. A death grip transfers vibration into your arms and makes the bars harder to steer when the wheel kicks. Hold the grips firmly enough to maintain control but loosely enough that your arms can move independently of the scooter. If the impact bounces your hands off the bars, you were going too fast or your tyres were underinflated.
Tyre Choice And Pressure: The Single Largest Factor
Tyre Type And Pressure Settings
No technique can compensate for the wrong tyre type or incorrect pressure. Pneumatic tyres at the correct PSI are the single largest factor in surviving a pothole. A solid tyre transmits the full impact of a kerb edge directly into the rim, the stem, and your wrists. The fact sheet states that a solid tyre on a pothole at speeds above 15 km/h risks rim fracture. That is a write-off event. Pneumatic tyres deform over the obstacle, absorbing energy that would otherwise break the rim or your bones. Tubeless self-sealing tyres are the best option for rough surfaces because they resist pinch flats and seal small punctures automatically.
The minimum tyre pressure for a tubed pneumatic tyre is 2.4 bar (35 psi). The maximum is 3.4 bar (50 psi). For tubeless tyres, the minimum is 1.7 bar (25 psi) and the maximum is 2.8 bar (40 psi). Check your pressure every two weeks with a digital gauge that reads to 0.1 bar resolution. Under-inflated tyres bottom out against the rim on a square edge and cause a pinch flat, the single most common field repair on electric scooters. Over-inflated tyres transmit every pebble into the frame and reduce traction on loose surfaces.
Wheel Diameter And Your Route
The minimum wheel diameter for pothole stability is 10 inches. For rough surfaces, 11 inches or larger is recommended. The Ninebot Max G30 tyre size is 10 inches, which is the borderline. A scooter with smaller wheels, like the 8.5-inch tyres on many ultralight models, will drop into holes that a 10-inch wheel rolls over.
Suspension: When It Helps And When It Hurts
Suspension reduces the energy your body must absorb, but it is not a substitute for technique or tyre pressure. The minimum suspension travel for rough surfaces is 40 mm. For off-road use, 80 mm or more is recommended. Short-travel spring systems on budget scooters can be worse than no suspension at all, because they bottom out easily and transmit a harsh stop. Adjustable hydraulic suspension, as found on the NAMI Burn-E 2 or the Kaabo Wolf King GT, lets you set sag at 25 to 30 percent of total travel with your weight on the scooter, and adjust rebound damping to match the surface. For potholes, firm compression damping prevents the system from bottoming out. For washboard gravel, softer compression damping lets the wheel follow the surface. If your scooter has no suspension, your legs are your suspension. That works up to about 15 km/h on moderately rough pavement. Above that speed on broken surfaces, the repeated impacts fatigue your muscles within 45 minutes, which is the rider fatigue limit stated in the fact sheet. Stop and rest. Do not push through with locked knees.
Speed Adjustment For Specific Surfaces
Different surfaces demand different speeds and techniques. On cobblestone, the speed limit is 10 km/h. Above that, the vibration loosens handlebar grips, display delaminates, and controller desoldering becomes a real risk. On tram tracks, cross at a minimum of 45 degrees. Hit them parallel and the wheel drops into the groove, trapping the tyre and throwing you off. On cattle grids, dismount and walk the scooter across; the gap between bars is wider than your tyre and the wheel will drop through. On corrugated dirt, known as washboard, speed between 15 and 20 km/h lets the wheels float over the ridges. Slower than 15 km/h and the vibration shakes every bolt loose. Faster than 20 km/h and you lose steering contact. On wet leaves, avoid entirely. Braking distance increases by 300 percent and the friction coefficient drops below 0.3. On painted road markings when wet, the same applies; the friction coefficient is below 0.3. On metal road plates when wet, it is below 0.2. You cannot brake or steer on those surfaces.
What To Do After A Rough Ride
The impact that did not cause a crash may still have damaged your scooter. The fact sheet prescribes a post-ride inspection after every rough-surface ride. Check the tyre condition first: sidewall cuts deeper than 1 mm require replacement, tread cuts wider than 3 mm require replacement, and any pressure loss above 0.3 bar per week indicates a slow puncture. Check for stem play by holding the front wheel between your knees and twisting the handlebars. More than 0.5 mm of movement in any direction means the folding mechanism needs tightening or replacement. Inspect the folding hook for visible deformation or play above 1 mm. Check the axle nuts at 35 to 45 Nm. Inspect the suspension bushings for wear every 500 km. If you rode through water, check the battery compartment drain hole and the motor cover drain hole for blockages, and dry and lubricate any exposed bearings with silicone-based lubricant. The bearing replacement interval after water immersion is immediate: if water got in, replace the bearings before the next ride.
Electric Scooter Rough Terrain Technique: The Step-By-Step Sequence
The entire technique compresses into a single sequence you run through in order as you approach rough pavement. Scan 15 metres ahead and pick the smoothest line. Reduce speed to 15 km/h or below using the rear brake only, and do it before you reach the obstacle. Shift your weight rearward to 60 percent on the back foot. Bend your knees and keep your grip loose on the handlebars. Coast through the obstacle with no brake input and no steering input beyond small corrections. That is the electric scooter rough terrain technique that works on any standing scooter with pneumatic tyres at the correct pressure. Follow that sequence, and you will clear potholes up to 50 mm deep at 15 km/h, and up to 80 mm deep at walking speed. If you do not follow it, the scooter's failure modes become your injury modes: stem collar fracture, rim deformation, pinch flat, or controller desoldering from the vibration you transmitted through locked arms.
Scooter Pothole Avoidance Stance
The scooter pothole avoidance stance is not a static pose; it is a dynamic position you adopt as you approach the obstacle. Stand with feet shoulder-width apart on the deck, knees bent to at least 30 degrees of flexion. Your centre of gravity sits low and over the deck, not over the handlebars. Your arms are bent at the elbows, hands holding the grips with the thumbs on top, not wrapped around. This stance keeps your mass centred so that when the front wheel drops into a hole, your body does not pitch forward. If you stand upright with locked knees, the drop moves your centre of gravity forward of the front axle and you go over the bars. The stance also lowers your centre of gravity, which improves stability on loose gravel where the wheels can slide laterally. Practice this stance on flat ground first: ride slowly and squat into position, then hold it for 10 seconds. Repeat until the stance feels natural, because you will not have time to think about it when the hazard appears.
Pneumatic Tyre Rough Surface Riding
Pneumatic tyre rough surface riding is a different experience from riding on solid tyres, and you must adjust your expectations accordingly. A pneumatic tyre at correct pressure deforms around the obstacle, maintaining contact with the ground. You feel the impact, but the wheel does not stop. A solid tyre does not deform; it transmits the full force of the edge into the rim, and if the edge is sharp enough, the wheel stops and you do not. The pneumatic tyre also provides grip on loose surfaces because the tread blocks can wrap around small stones. On gravel, the recommended tyre width is 2.5 inches minimum. On sand, 4 inches or more is required, and even then, sand deeper than 20 mm is not rideable. The tread pattern for mixed urban and rough surfaces is a semi-slick with shoulder knobs: the centre tread is smooth for low rolling resistance on pavement, and the shoulder knobs grip when you lean into a corner on gravel. If you ride exclusively on loose surfaces, switch to a knobby tread pattern. The tyre replacement interval is 800 to 1,500 km, varying with rider weight and surface abrasiveness. Check tread depth below 1 mm as the wear indicator.
Standing Scooter Line Choice Obstacles
Standing scooter line choice obstacles are not the same as bicycle line choice. A bicycle has two wheels of equal size and the rider is seated. A standing scooter has a small front wheel and the rider's weight is high. The line that works for a cyclist may not work for you. When approaching a pothole, you cannot swerve at the last second because the scooter's steering geometry is quick and twitchy; a sudden handlebar input at 25 km/h will wash the front wheel. Your line choice must be made early, at least 5 metres before the obstacle, and the correction must be smooth. If the path is blocked by damage on both sides, the correct choice is to slow to walking speed and ride through the shallowest edge at 45 degrees. If the hole is deeper than 80 mm, dismount and walk the scooter around it. Never ride off the edge of a drop-off, such as a kerb that is taller than the scooter's ground clearance. The Kaabo Wolf King GT ground clearance is high, around 180 mm, but a typical commuter scooter deck height is 120 to 180 mm. If the kerb is taller than your ground clearance, the deck strikes the edge and you stop instantly.
Frequently Asked Questions
What is a pinch flat and how do I avoid it?
A pinch flat occurs when the tyre compresses fully against the rim edge on a sharp impact, puncturing the inner tube. Avoid it by maintaining minimum tyre pressure of 2.4 bar for tubed tyres and 1.7 bar for tubeless. Reduce speed before potholes and use an approach angle of 45 degrees.
Should I use regenerative braking on loose gravel?
No. Disable regenerative braking on loose surfaces and on wet surfaces. The motor braking through the wheel on loose gravel will cause the rear wheel to skid and lose traction. Use only the mechanical rear brake on gravel.
What is the safest way to cross a tram track?
Cross at a minimum angle of 45 degrees. Hitting the track parallel drops the tyre into the groove and throws you off. Reduce speed to below 10 km/h before the crossing and coast through with no steering input.
Can I ride on sand with a standard scooter?
No. Loose sand deeper than 20 mm is not rideable on any standing scooter. The front wheel digs in and stops. If you must cross a short patch of sand, dismount and carry the scooter. Do not attempt to ride through it.
Read next
-
 Electric Scooter Riding Skills: Techniques for Commuting, Braking and Hills
Learn fundamental electric scooter riding skills from first-ride stance to emergency braking, with step-by-step guides for rain, night, and hill riding.
Electric Scooter Riding Skills: Techniques for Commuting, Braking and Hills
Learn fundamental electric scooter riding skills from first-ride stance to emergency braking, with step-by-step guides for rain, night, and hill riding.
-
 Long Range Electric Scooters With Owner-Reported Distance at Real Rider Weight
Long-range electric scooters ranked by owner-reported distance at a real rider weight, not the manufacturer's 60 kg eco-mode claim, with battery capacity in watt-hours.
Long Range Electric Scooters With Owner-Reported Distance at Real Rider Weight
Long-range electric scooters ranked by owner-reported distance at a real rider weight, not the manufacturer's 60 kg eco-mode claim, with battery capacity in watt-hours.
-
 Best Electric Scooters for Adults: Commuter, Heavy Rider and Multi-Modal Picks
The best electric scooter for adults depends entirely on your commute: lightweight folders for train riders, durable tubeless models for daily abuse, and reinforced frames for heavier riders.
Best Electric Scooters for Adults: Commuter, Heavy Rider and Multi-Modal Picks
The best electric scooter for adults depends entirely on your commute: lightweight folders for train riders, durable tubeless models for daily abuse, and reinforced frames for heavier riders.
-
 Best Electric Scooter: The Models That Earn Their Spec Sheet in the Real World
The best electric scooter is the one whose real range, brake type, and stem durability match what the spec sheet promises. We compare the models that deliver.
Best Electric Scooter: The Models That Earn Their Spec Sheet in the Real World
The best electric scooter is the one whose real range, brake type, and stem durability match what the spec sheet promises. We compare the models that deliver.
-
 Best Electric Scooter Lights for Actually Seeing the Road at Night
Stock scooter lights are position markers, not headlights. The best electric scooter lights mount securely, survive rain, and project a beam you can actually ride by.
Best Electric Scooter Lights for Actually Seeing the Road at Night
Stock scooter lights are position markers, not headlights. The best electric scooter lights mount securely, survive rain, and project a beam you can actually ride by.